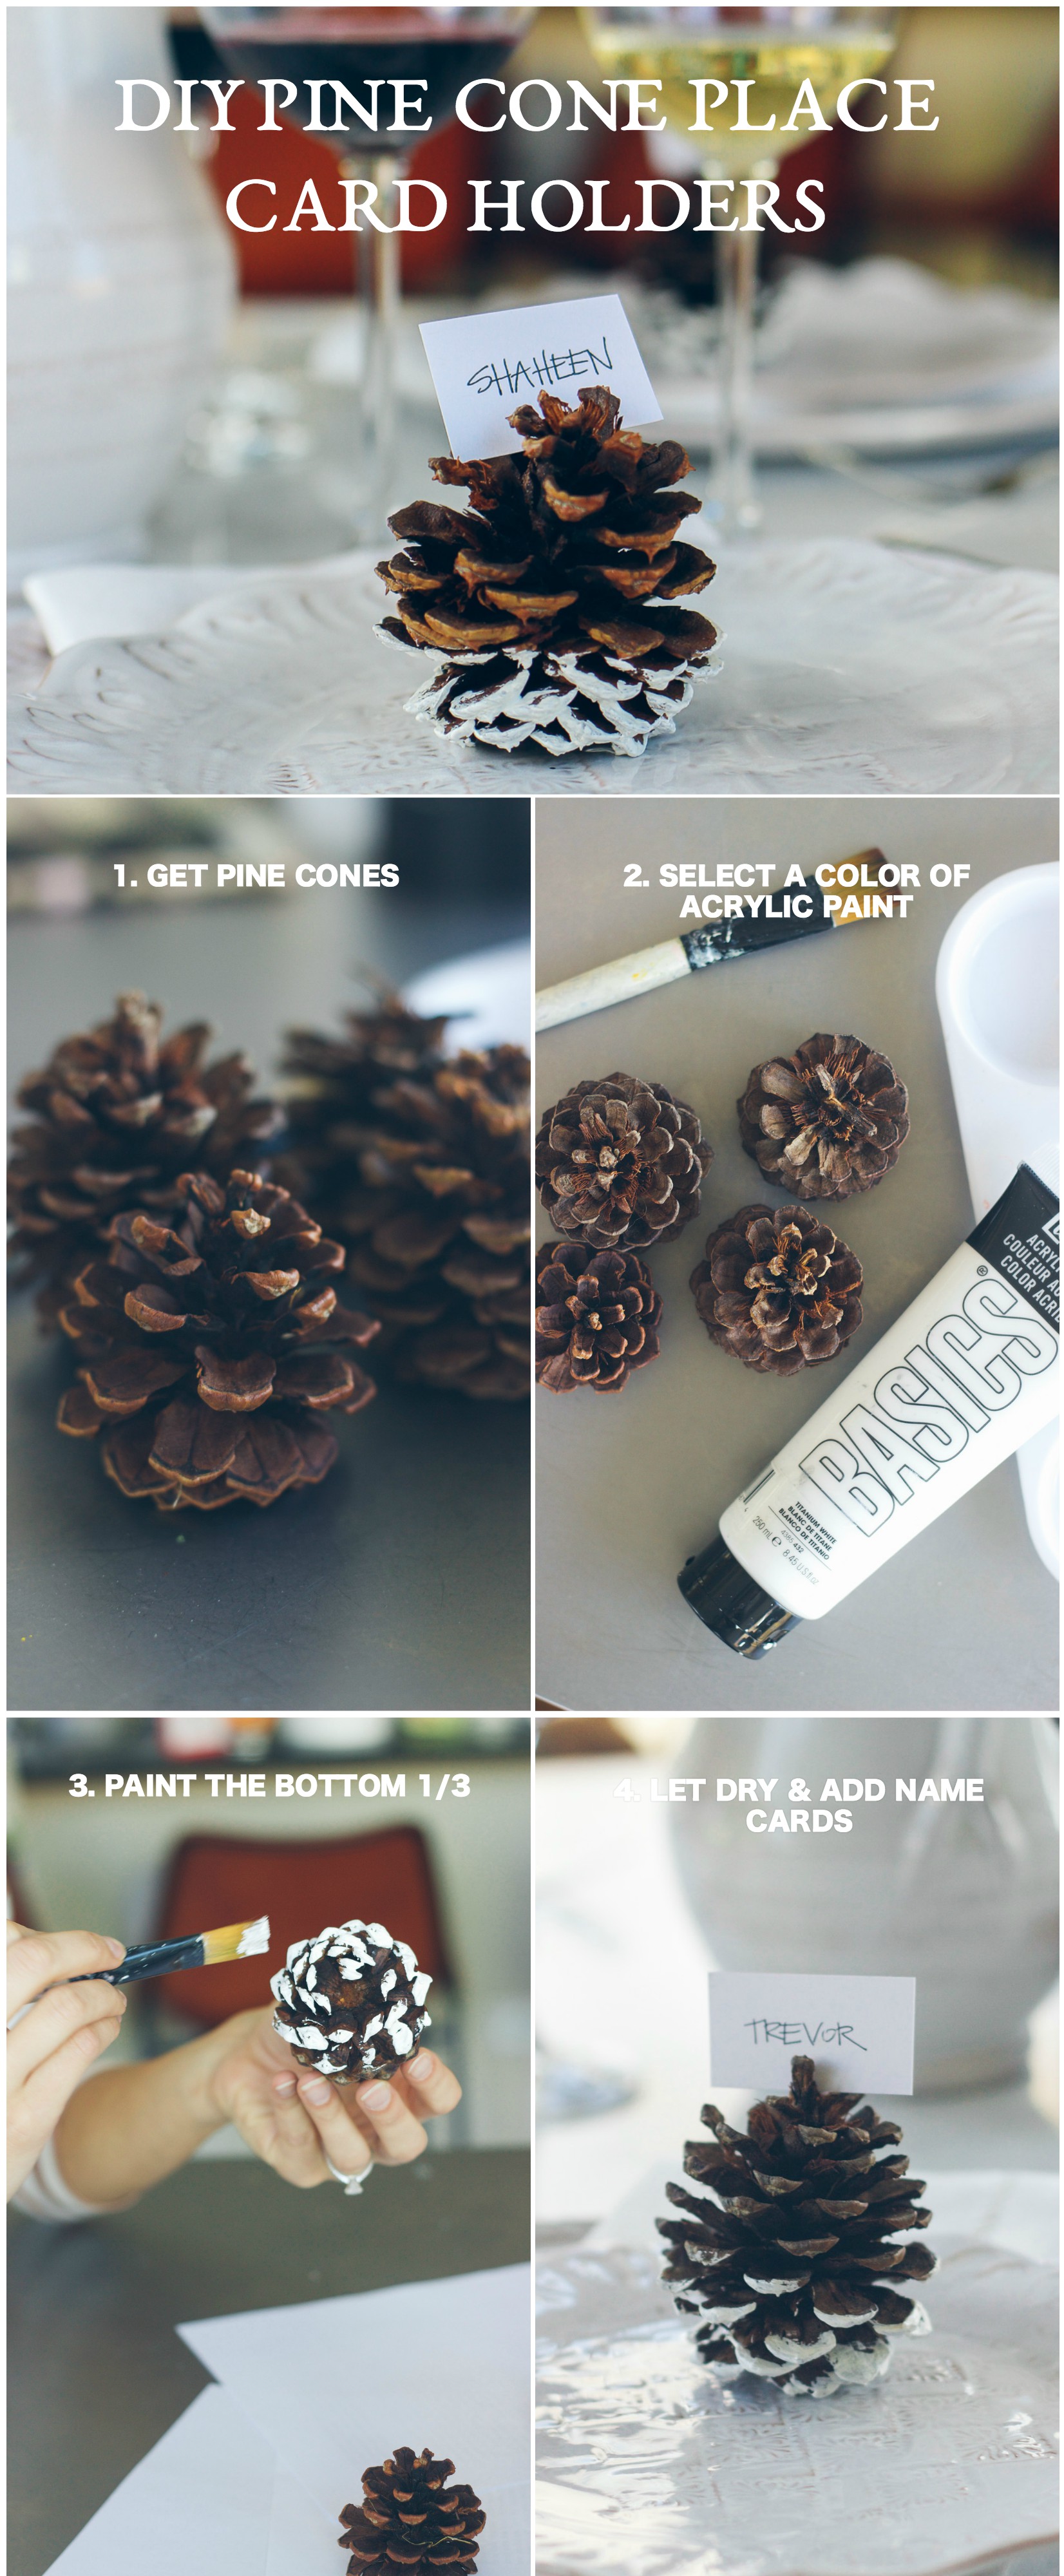
DIY Pine Cone Place Card Holders
Hi there! Shaheen from ‘Lows to Luxe‘ and Blair from the ‘Fox and She‘ here with a fun DIY tutorial perfect for the holidays! We are so excited to be guest posting on the Kendall-Jackson Blog and hope you will swing by ours to take a peek at our easy holiday dinner tutorial! We promise you won’t be disappointed with the simple and delicious recipes we created!
With the holidays quickly approaching we thought we would share a fun DIY place card holder tutorial we created from pine cones! It was so quick and easy and added such a personal touch to our dinner party.
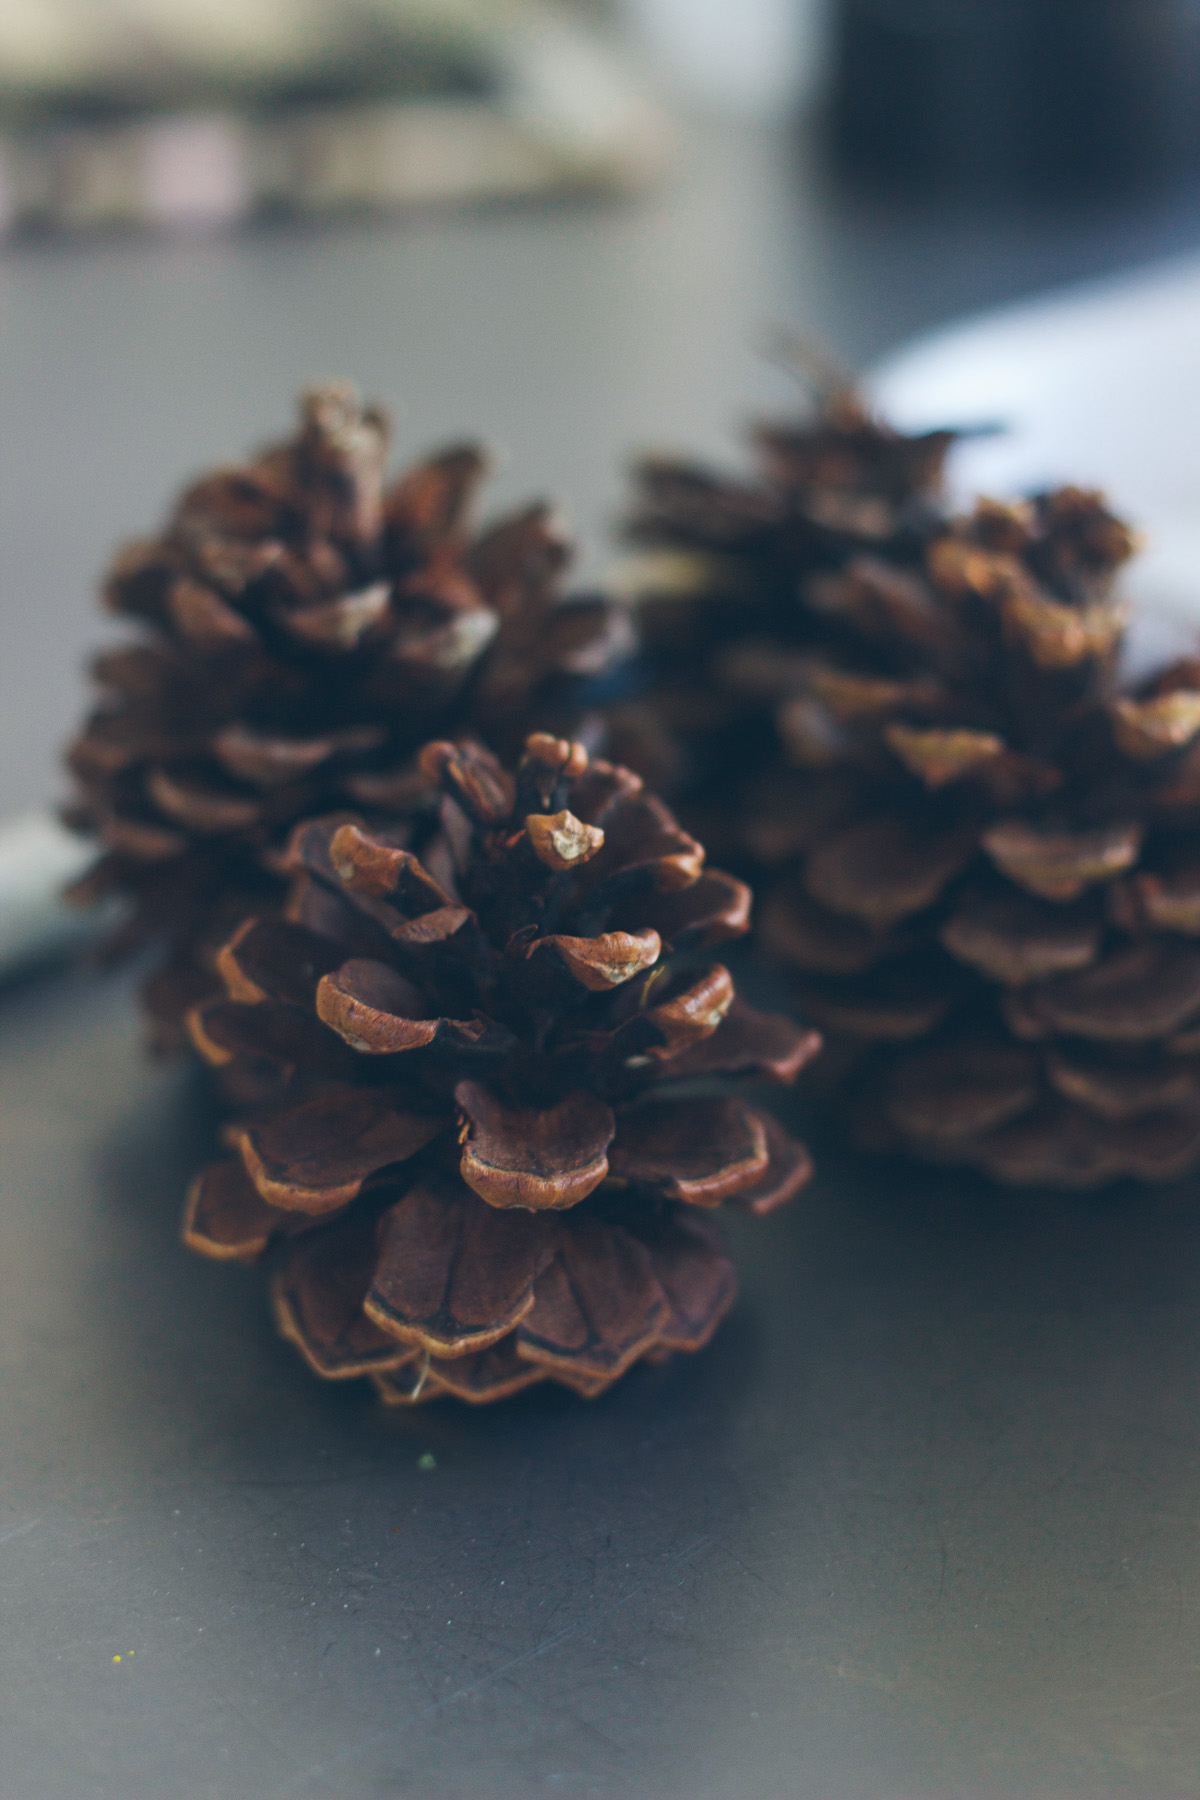
1. Pick up a sack of pine cones at your local market – our local grocery store had apple-scented pine cones which made it even better!
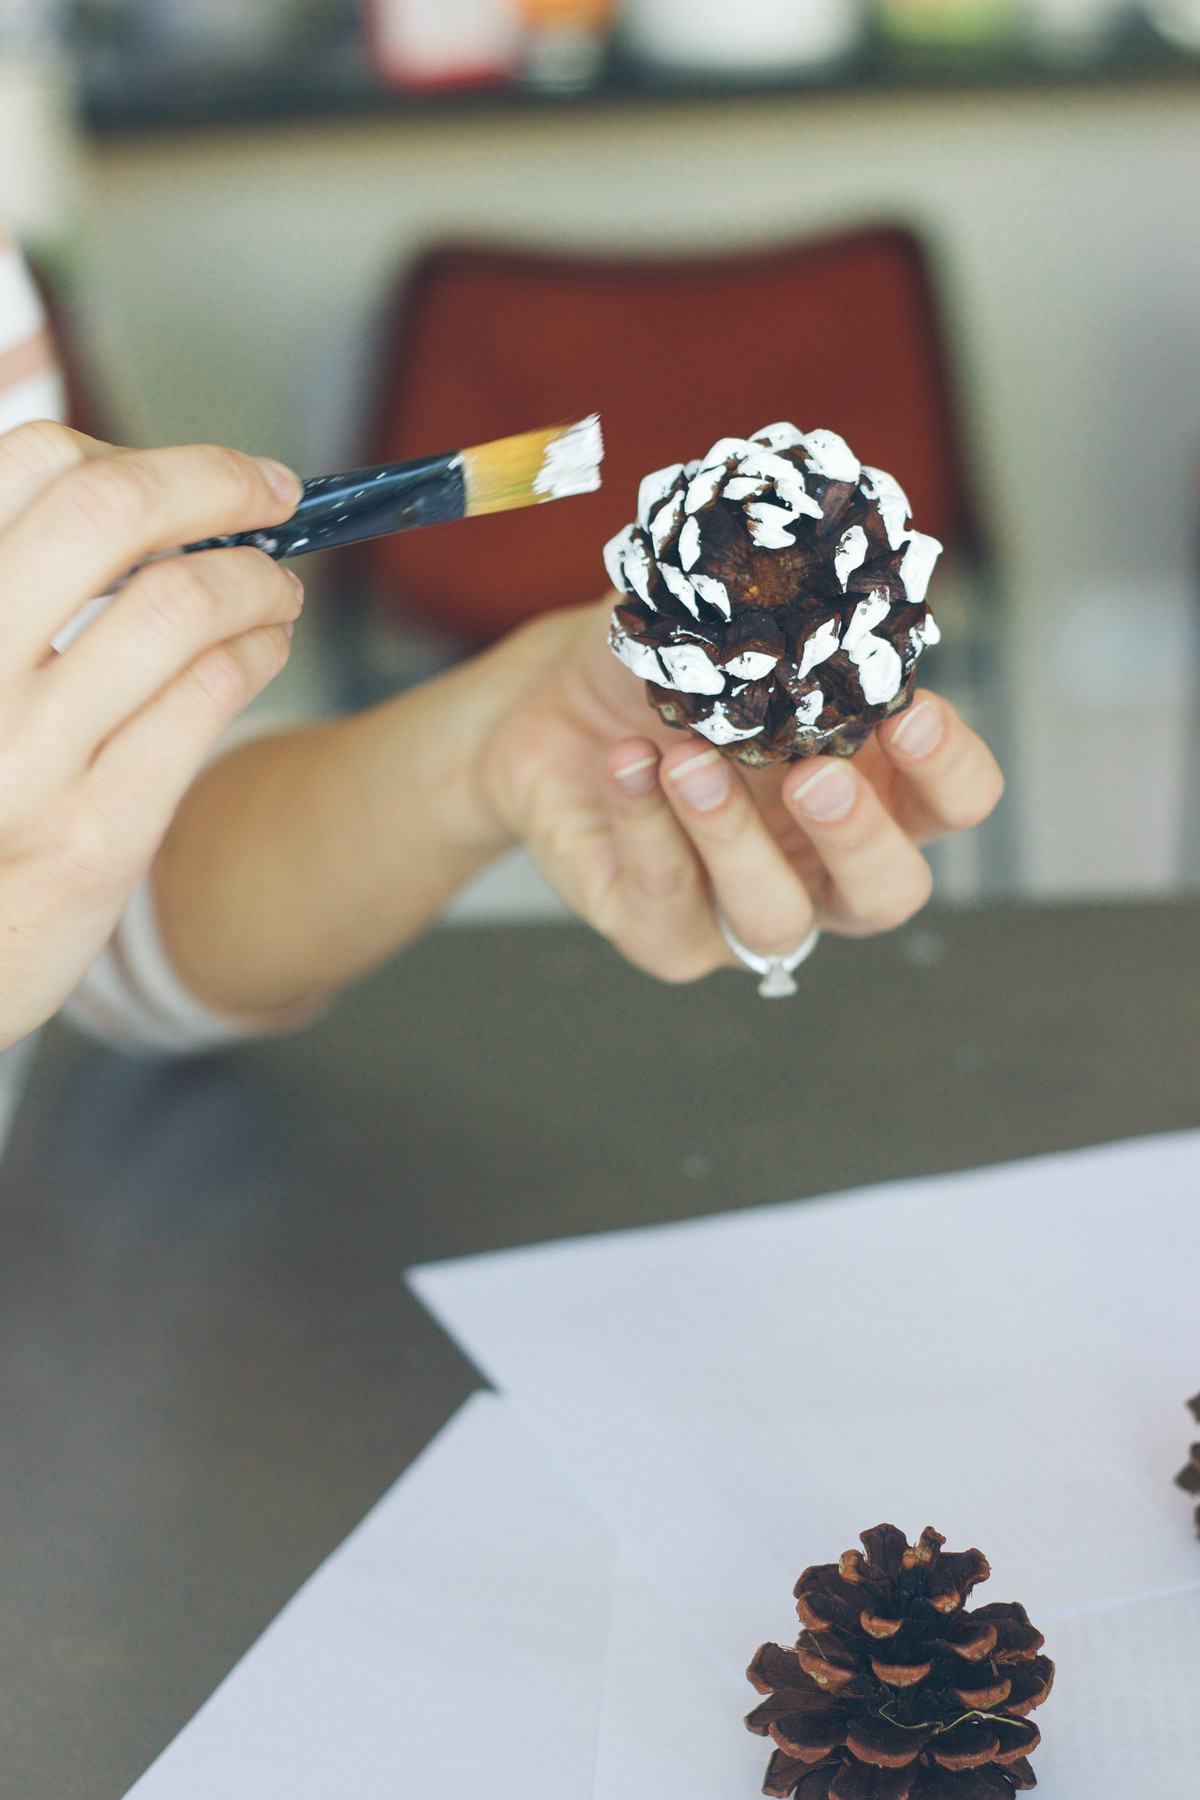
2. Grab some acrylic paint in whatever color you prefer to match your table setting and paint the bottom 1/3 of each pine cone.

3. Set aside & let dry! If you prefer, you can always add a little glitter or sparkle while the paint is still wet to add some glam.
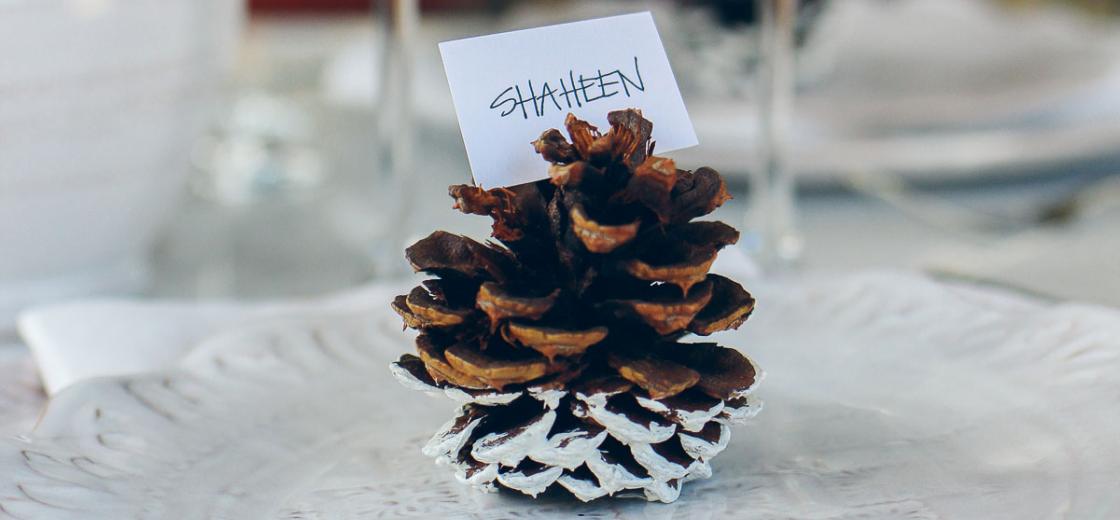
4. Write all your guests name on plain, colored or patterned stock card
5. Once dry attach the name at an angle to the top of your pine cone and set your table!

Such an easy task that makes such a big difference! Thanks so much for letting us share a little holiday cheer with you!
Don’t forget to stop by our blogs for the easiest holiday dinner recipes like simple roast chicken, roasted root vegetables, shaved brussel sprout salad and baked apples — all pair perfectly with some Kendall-Jackson wines!