DIY Block Printed Table Runner
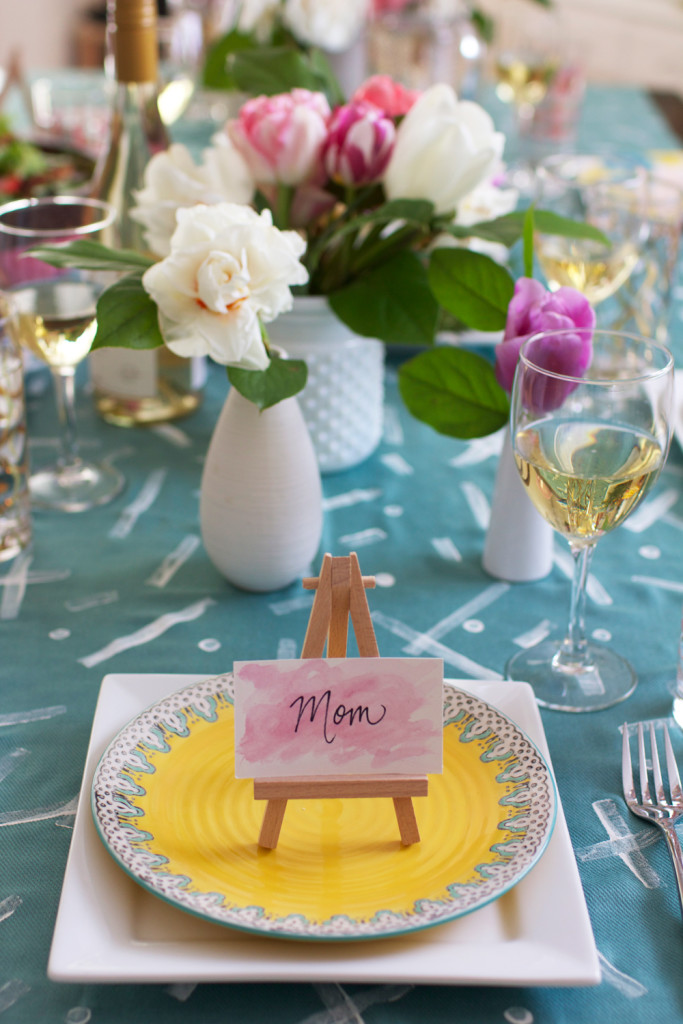
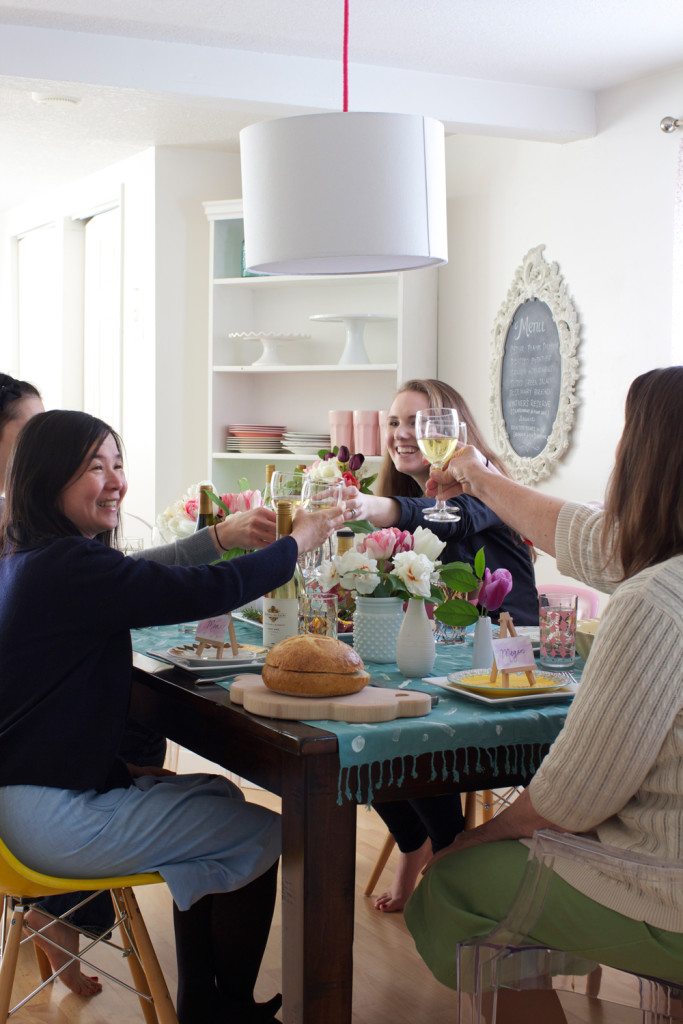
I don’t live in the same city as my mom, so when she and my sister came to visit a couple weeks ago, I took advantage of the opportunity to throw her an early Mother’s Day lunch! I also invited the women on my husband’s side of the family, and we kicked all the men out of the house.
I love hosting get-togethers, and decorating the table is one of my favorite parts…so of course, I planned out a few special details for our lunch. One of my favorite details was the block printed table runner, which I made by hand! I think it turned out pretty well, so I thought I’d share the instructions here. This is one of those projects that’s easily adaptable to lots of other ideas–block printed napkins, pillow covers, scarves, etc. I chose a very simple pattern using materials I already had, but if you’re a little more ambitious, you could also carve out stamps in whatever pattern you please.
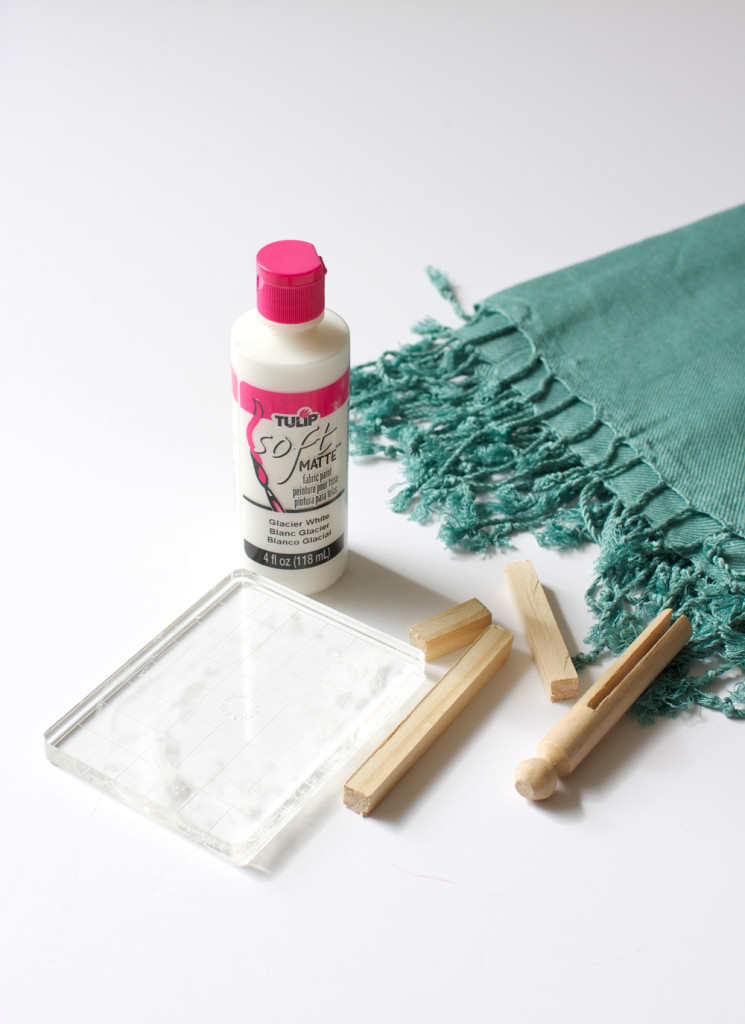
You will need:
- A plain table runner or fabric that covers the length of your table. I actually couldn’t find the type of table runner I was looking for, so I ended up getting a plain scarf for $9 at a local store…you can totally go that route, too.
- White fabric paint
- An acrylic stamp block, or a smooth surface to spread the paint on.
- Wood blocks of various sizes. I also used the head of a doll pin to create dots.
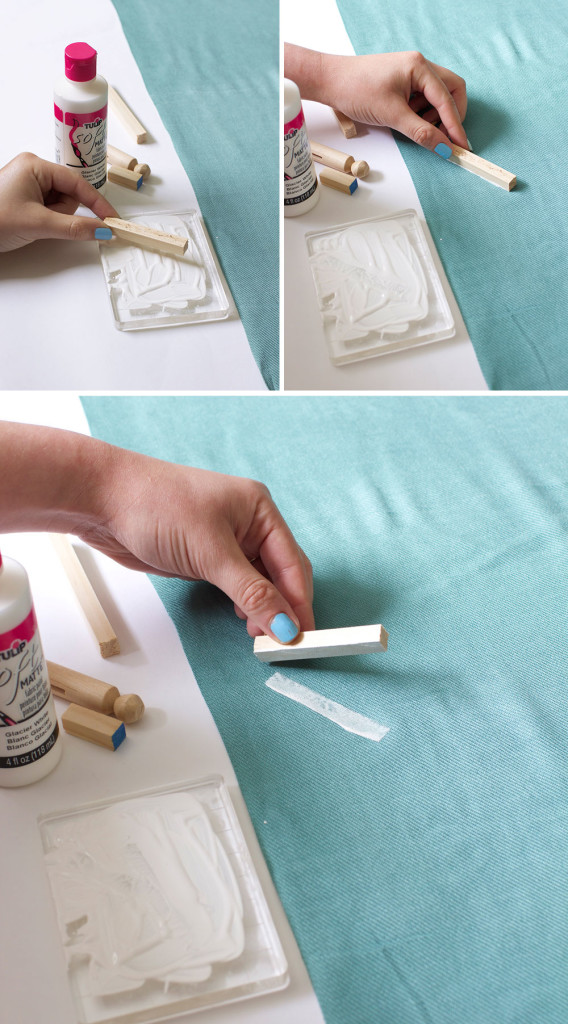
I would recommend playing around with your pattern on some scrap fabric first, to get a feel for how you want it. Once you’re ready to start on the “real thing,” lay the fabric out flat with some paper underneath it (in case the paint bleeds through). Spread a thin layer of fabric paint on your acryclic stamp block, press a wood block onto the paint, then press the block down on the fabric, applying even pressure. Carefully lift it up, and repeat.
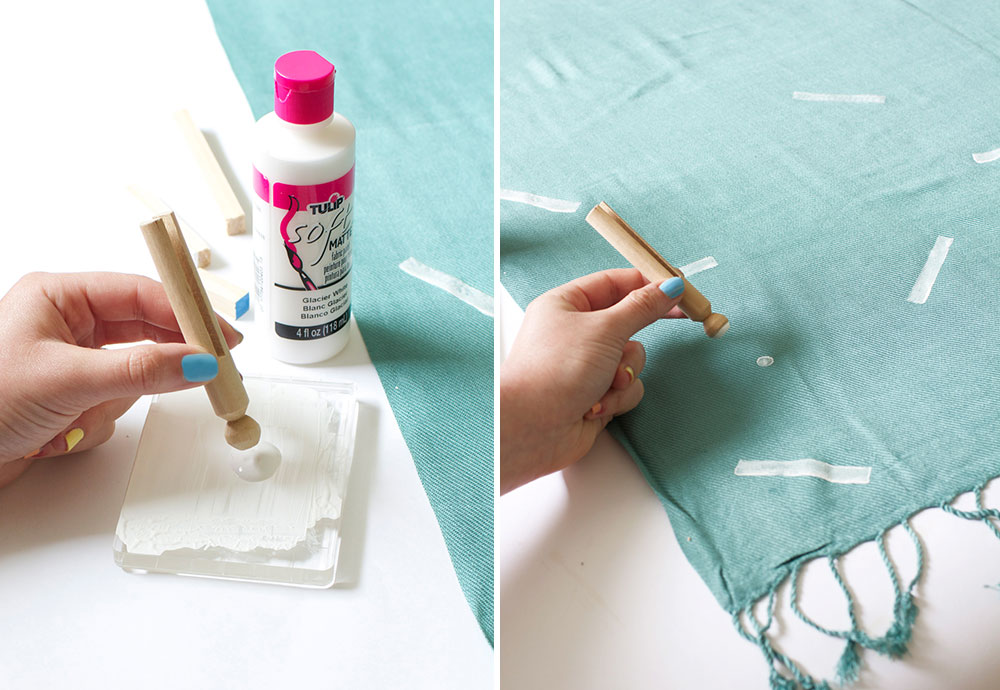
Once you’ve covered a good area with your first stamp, repeat the same steps with a different size stamp. Continue stamping until your fabric is covered with the pattern.
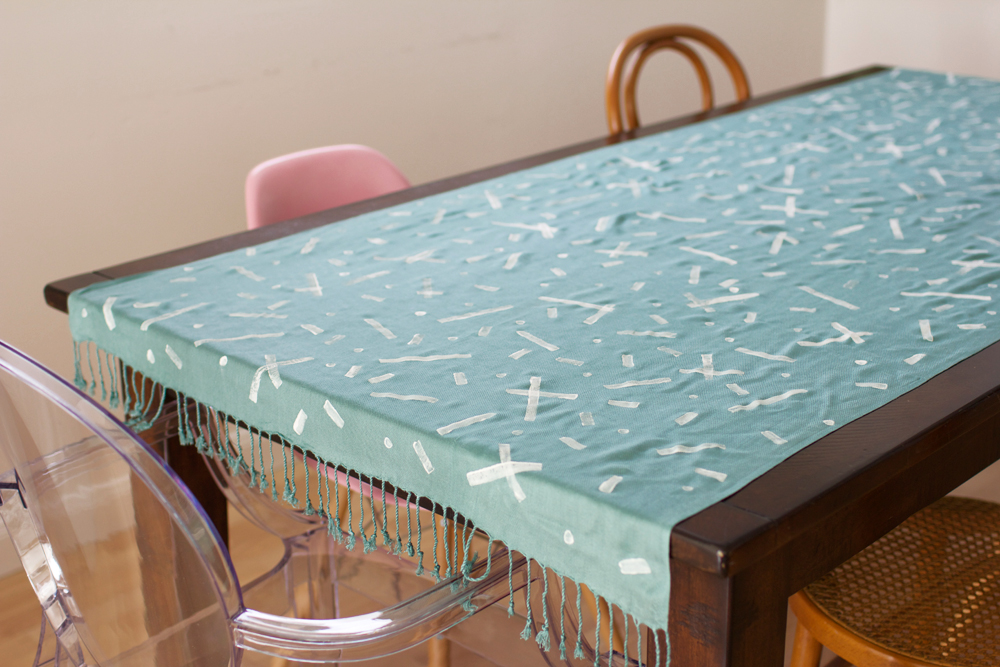
Let the paint dry completely, according to the instructions on the bottle (I let mine dry for 72 hours). Then, place a piece of fabric on top of the runner and iron it, to set the paint and smooth out any wrinkles.
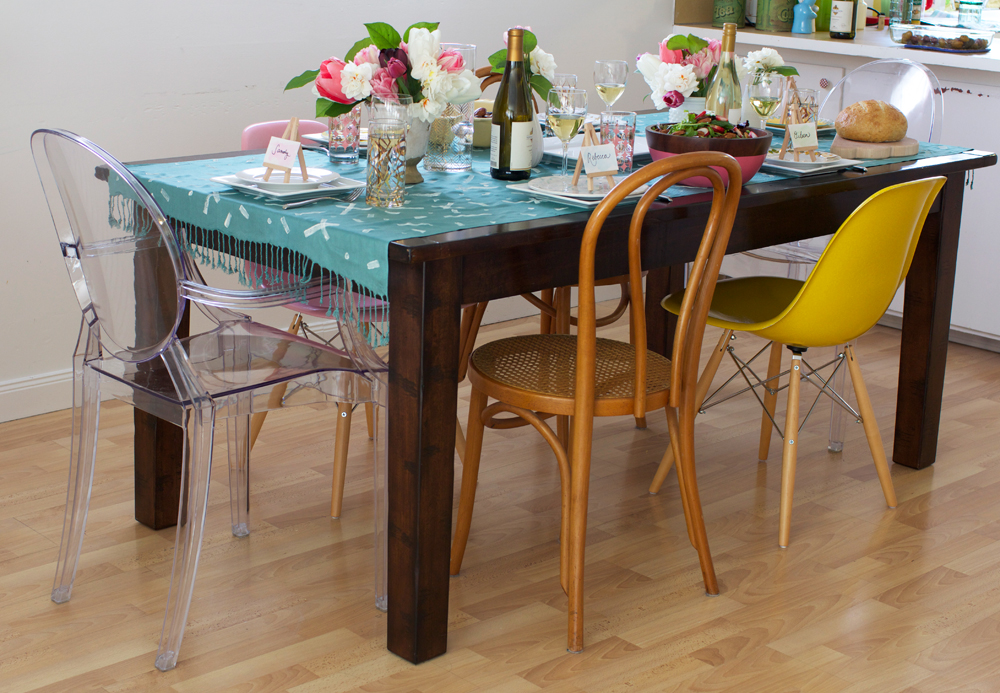
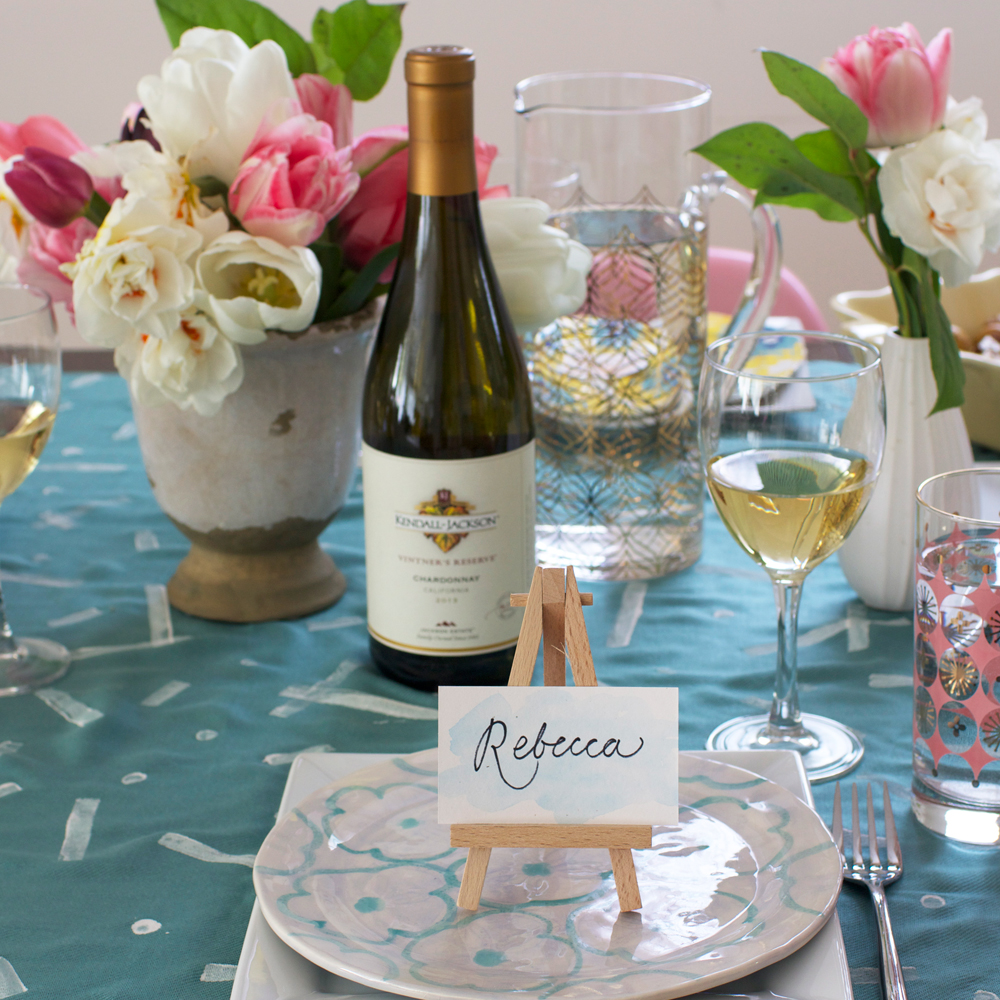
After that, your runner is ready to use! Here are a few photos of it in action during my Mother’s Day lunch.
Check out my blog for a few more photos from the lunch party. Have you ever tried block printing? I’d been wanting to try it for awhile, and this table runner was the perfect project to start with. Now I’m dreaming up all the other things I could block print! I think a canvas bag might be next…


