
Share This
Hi there, Melissa here from The Sweet Escape with a perfect sweet and savory recipe to share with you. Did I mention that it involved bacon? It’s pretty safe to say that any recipe involving bacon will be a hit and this is no exception. These no bake maple bacon cheesecake cups are a quick and easy dessert to whip up whenever you have guests over. It’s one of those recipes that’s super easy but oh-so impressive, which are the best kind.
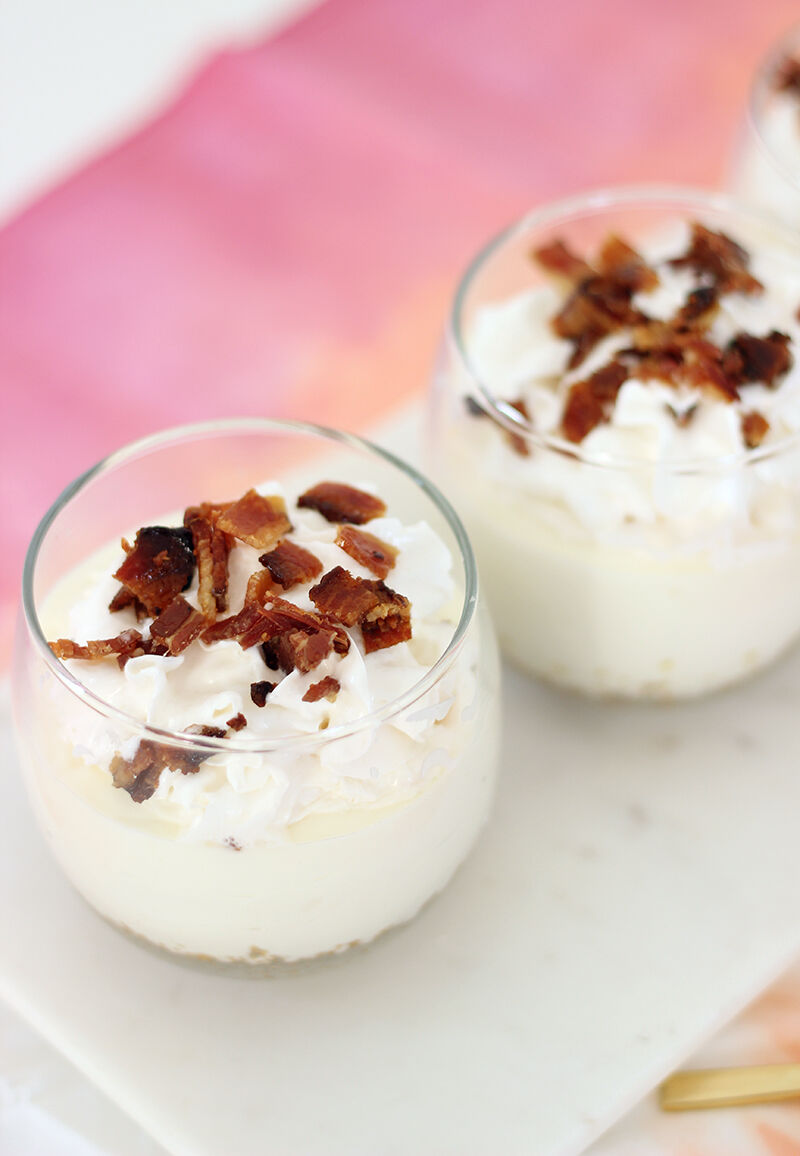
These cups of deliciousness do need a bit of time to set so it’s best to make them about 4 hours ahead of time or even better, the day before — just add the whipped topping at the last minute.
Who doesn’t love a good sweet and savory combo, right? The maple candied bacon bits on the top are the perfect sweet/salty crunch to top off this fluffy-as-a-cloud, no bake cheesecake.
Why You'll Love These No Bake Maple Bacon Cheesecake Cups
Okay, real talk. If you're the kind of person who thinks bacon belongs in more desserts, you're going to want to bookmark this one. These little cups are ridiculously easy, come together with pantry basics, and somehow manage to taste way more impressive than the effort involved. Here's why they've become one of my go-to entertaining recipes:
- No oven required for the cheesecake. The filling sets up beautifully in the fridge, so you can skip the water bath, the cracked tops, and all the fuss of traditional cheesecake.
- Sweet and salty in every bite. The fluffy vanilla cheesecake gets balanced out by crispy, maple-glazed bacon on top. It's the kind of flavor combo people don't forget.
- Perfect for making ahead. These actually taste better after a night in the fridge, which makes them a dream when you're hosting.
- Individual portions. No slicing, no serving spoons, no messy plates. Just hand each guest their own little cup and watch them light up.
- Endlessly customizable. Swap the graham crackers, change up the topping, or double the bacon (I won't judge).
Basically, if you want a dessert that pulls double duty as the conversation piece at your next dinner party, these cheesecake cups are it.
The 3 Layers of a No Bake Cheesecake Cup
The beauty of these cheesecake cups is how simple the structure is. Three layers, each doing its own thing, all working together to create something that tastes way fancier than it should. Once you understand what each layer brings to the party, you'll be able to riff on this recipe forever.
1. The graham cracker crust. This is your buttery, slightly sweet foundation. It adds a little crunch to contrast the fluffy filling and helps everything feel like a proper cheesecake. If you don't have graham cracker crumbs on hand, arrowroot cookies or waffle cones work just as well.
2. The no bake cheesecake filling. This is where the magic happens. Whipped cream cheese folded together with fresh whipped cream creates a filling that's silky, light, and almost mousse-like. It's rich enough to feel indulgent but airy enough that you'll happily go back for seconds.
3. The maple candied bacon topping. The showstopper. Little bits of salty-sweet, caramelized bacon crown each cup and turn a simple cheesecake into something you'll remember. This is the layer that makes people ask, "Wait, is that bacon on my dessert?" (Yes. Yes it is.)
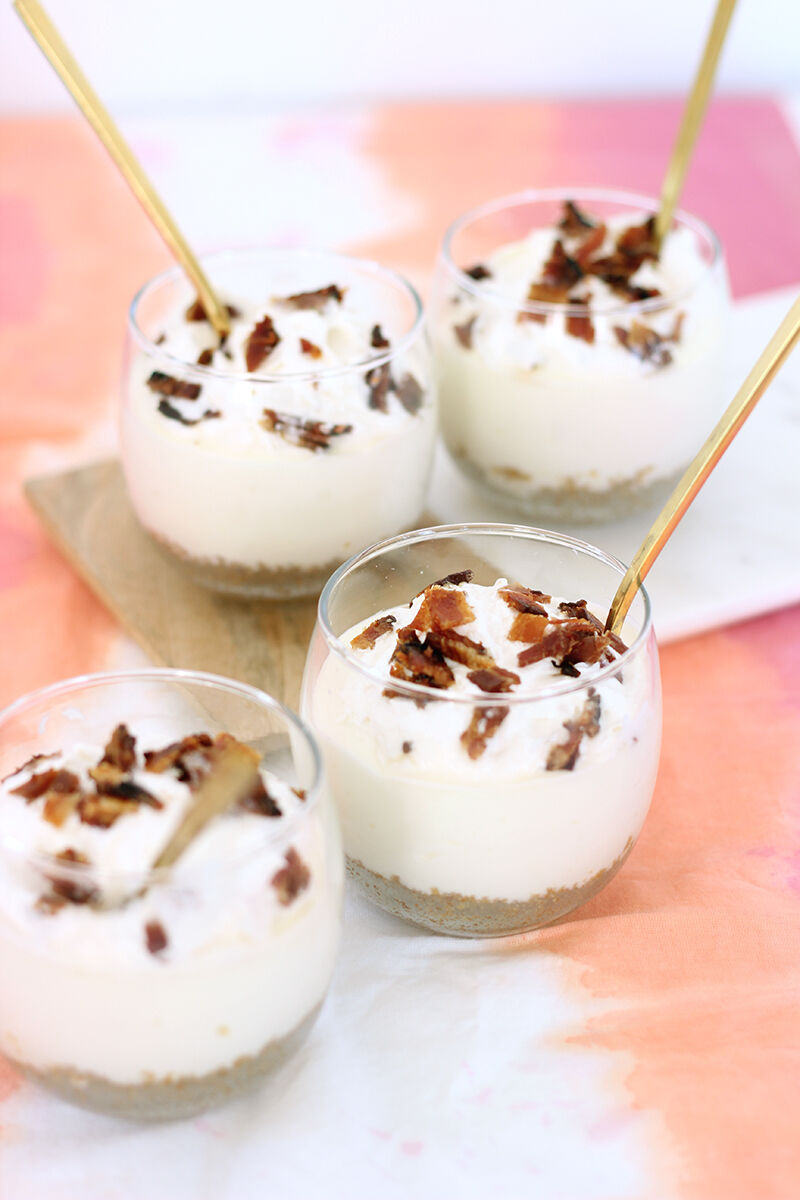
Key Ingredients for Maple Bacon Cheesecake Cups
Nothing fancy here, promise. Just a handful of pantry and fridge staples that come together to make something pretty spectacular. That said, a few of these ingredients really do make a difference, so here's what to grab and why it matters.
- Cream cheese. Full-fat, brick-style cream cheese is the way to go. Skip the whipped or low-fat versions since they don't set up the same way. And make sure it's softened before you start mixing, otherwise you'll end up with lumps that no amount of whipping will smooth out.
- Heavy whipping cream. This is what makes the filling so light and fluffy. Whip it to soft peaks before folding it into the cream cheese and you'll get that dreamy, mousse-like texture we're after.
- Graham cracker crumbs. The classic crust base. If you can't find pre-crushed crumbs, just pulse regular graham crackers in a food processor or crush them in a zip-top bag with a rolling pin. Arrowroot cookies or waffle ice cream cones make great swaps too.
- Pure maple syrup. Please don't reach for the pancake syrup here — it just won't give you the same rich, caramelized flavor when you candy the bacon. Real maple syrup is worth the splurge.
- Bacon. Thick-cut works best because it holds up to the syrup and caramelizes into that perfect crispy-chewy texture. Regular bacon will still get the job done if that's what you have.
- Butter, sugar, and vanilla. The unsung heroes. Melted butter binds the crust, sugar sweetens both the crust and filling, and a good splash of vanilla ties everything together.
How to Make Maple Candied Bacon (Step by Step)
Alright, this is the part I get most excited about. Maple candied bacon is one of those things that sounds fancy but is honestly so easy to make at home. It's crispy, salty, sweet, and just a little sticky in the best way. Once you make it, you'll want to sprinkle it on everything.
Here's how to nail it:
- Preheat your oven to 400°F. Line a baking sheet with foil (trust me, cleanup is way easier this way) and set a wire rack on top. The rack lets the bacon crisp up evenly instead of sitting in its own drippings.
- Lay the bacon out in a single layer. No overlapping. Each strip needs its own space to get that ideal crispy-chewy texture.
- Brush generously with pure maple syrup. Don't be shy here. The syrup is what creates that sweet, caramelized crust that makes candied bacon so addictive.
- Bake for 10–15 minutes, then flip each piece over and brush the other side with more maple syrup. Pop it back in for another 10–15 minutes.
- Finish under the broiler. This is the secret to that extra crispy edge. Just a minute or two under the broiler takes it from good to unforgettable. Watch it like a hawk though — the sugar can go from golden to burnt in seconds.
- Let it cool completely. As the bacon cools, it firms up and gets that satisfying crackle. Once it's cool, chop it into little bits and get ready to sprinkle it on top of your cheesecake cups.
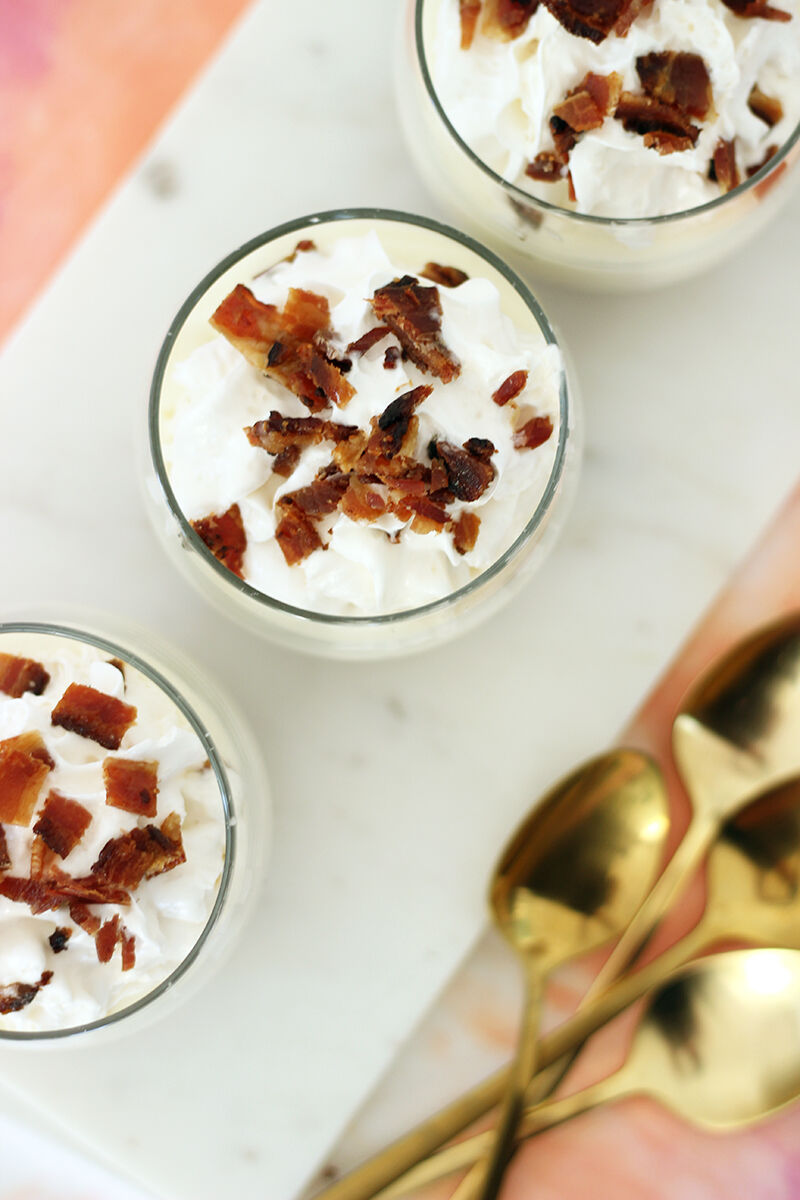
No Bake Maple Bacon Cheesecake Cups Recipe
Recipe Type:
Dessert
Prep Time:
20 minutes
Cook Time:
30 minutes
Total Time:
50 minutes
Servings:
4
Ingredients
For the crust:
- 1 cup of graham cracker crumbs
- 3 tbsp. melted butter
- 1 tbsp. sugar
For the cheesecake:
- 1.5 8oz. packages of cream cheese, softened
- ½ c. granulated sugar
- 2 tsp. vanilla
- 1 c. heavy whipping cream
For the bacon:
- ¼ c. pure maple syrup
- 1 package of bacon
Instructions
For the crust:
- Combine the melted butter, sugar and graham cracker crumbs together until they resemble the consistency of wet sand. Then divide evenly among your glasses and press down firmly to form the base. Set aside.
For the cheesecake:
- Using a mixer combine your cream cheese and sugar on med-high until well combined and almost fluffy. Set aside.
- In another bowl using your mixer again, whip the heavy cream until soft peaks form. Fold the whipping cream into the cream cheese mixture.
- Divide the whipped cheese mixture evenly among your glasses. Tap on a hard surface to remove any air bubbles and even them out. Put in refrigerator for a min. of 4 hours or overnight to set.
For the maple candied bacon:
- Set your oven to 400°. Place your bacon on a rack sitting on a foil-lined pan below. Do not overlap any pieces.
- Generously brush each piece with maple syrup.
- Place in oven for 10-15 minutes, remove, turn over the bacon and put back in for another 10-15 minutes.
- Finish the bacon off on broil in your oven for that extra bit of crispiness. Don't forget to watch it carefully!
- Once the bacon is done, let it cool and set aside.
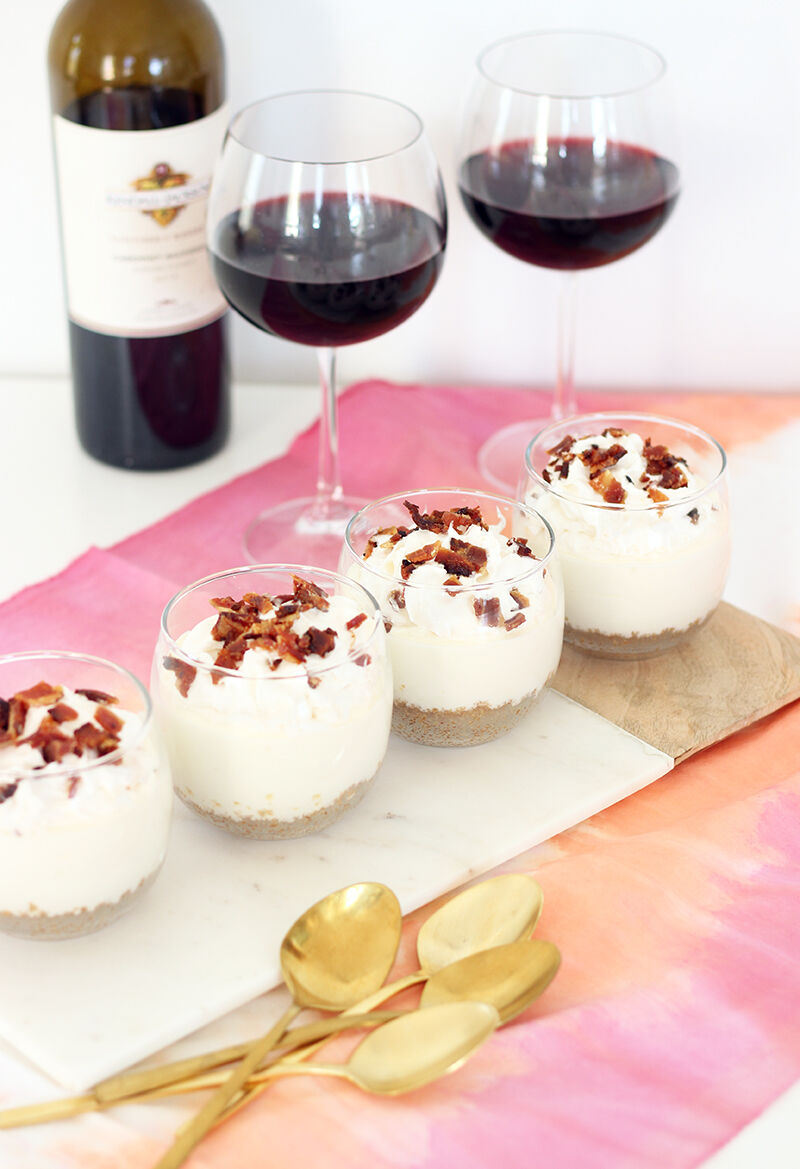
What Wine Pairs Best with No Bake Maple Bacon Cheesecake Cups
Dessert wine pairings are one of my favorite parts of hosting, and these cheesecake cups make it especially fun because you've got that sweet-and-savory thing going on. You want a wine that can hold its own against the maple and bacon without overpowering the creamy cheesecake filling. Good news: Kendall-Jackson has a few beautiful options that do exactly that.
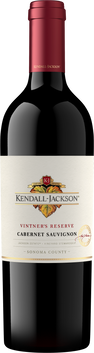
Kendall-Jackson Vintner's Reserve Cabernet Sauvignon is the pour I always come back to. Its rich notes of black cherry, cassis, and a hint of vanilla stand up beautifully to the smoky, caramelized bacon, while its smooth structure keeps everything feeling balanced. It's the kind of red that turns dessert into an event.
If you want to lean into the maple, Kendall-Jackson Vintner's Reserve Merlot is a lovely alternative. Its plush texture and notes of ripe plum and mocha play off the sweetness of the candied bacon and the vanilla in the cheesecake filling, making every bite feel a little more indulgent.